After looking at what HTML templates were available I wanted to look at how I could change those using CSS to change things like the colour schemes, headers, footers, etc.
Below are example of how I changed the templates.

Above is just a screen shot of the webpage template displayed in a browser. This is a before shot to compare how I will alter the webpage using CSS.

And this shows a screen shot of the CSS displayed in dream weaver. This is the code that I will be changing I will not actually be making any of these changes in the HTML document. All of the changes will be made in the CSS document that will affect the styling of the web page.
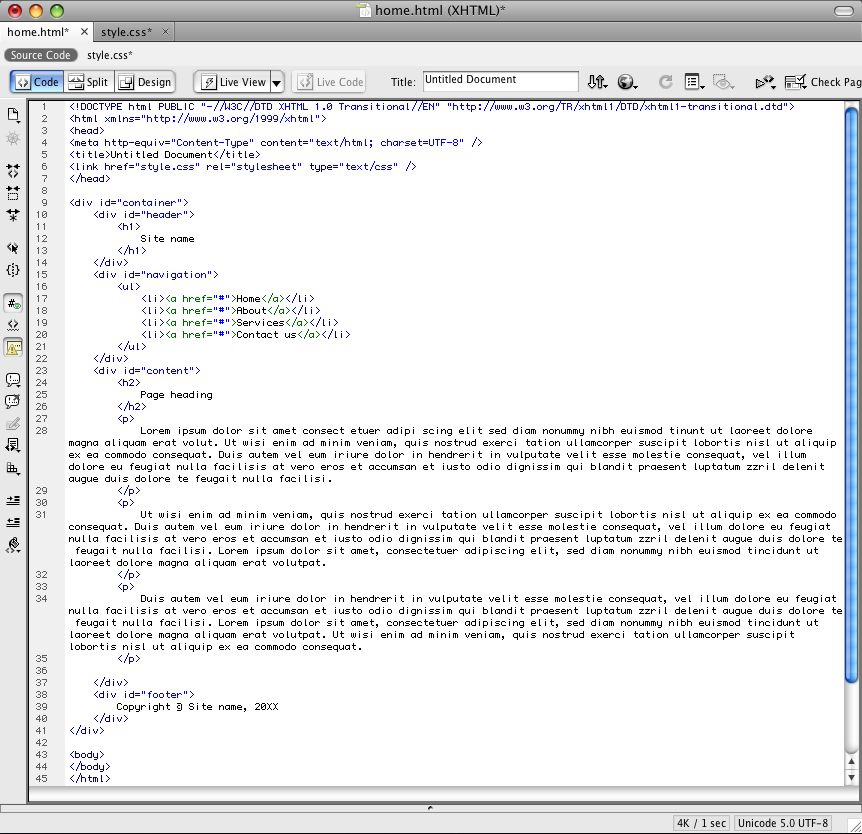
This is a screen shot of the HTML code displayed in Adobe dream weaver, as this is the programme I will be using to make my changes.

Above I have changed the colours of both the header and the nav bar to pinks. I changed the title of the webpage to a possible title name for my website and I also added another item to the nav bar. These changes were done however inside the HTML document. I just wanted to experiment with how the information inside the HTML document can be changed using dream weaver too.
However I changed the colours of the header and nav barf in the CSS document. i simply using dream weaver selected the section I wanted to see what it was classed as. I then looked for this rule in the CSS document and then changed the colour for example from background:#fff; to background:#e000b3; which indicates that I wanted to change the back ground colour from white to the pink colour displayed in the browser. I did the same for the nav bar, text and also the roll over links.

Above shows a screen shot of the CSS after I had made the changes to compare with the earlier screen shot I took before editing.

Above shows also that I changed the colour of the footer to match the header, and also that I increased the size of the body of the page from 600px to 800px. I wanted to experiment with sizing as I plan for my web page to be fixed. So I will need to carry out some research and look at what will be the most appropriate sizes to have things like my header and footer.

The above screen shot also shows the webpage been shown from the shared server. Because i uploaded a copy of my file to the server I can now view the web page from home or anywhere.

Here I wanted to experiment with using an image for the header. As large images take longer to load I made a small simple image using photoshop. I repeated it across the header to create this effect. Below is the image I used. Notice that it is actually very small, but when repeated see how it can create this header.


However the space for the header and footer image is too small so the whole image is not been displayed. I will now experiment with changing the size of the header and footer space so that the whole image will fit.

Compaired with the above screen shot you can see that i have incresed the header size so that now the full image is displayed in the header space. I done this by increasing the padding rule in the header div from 20 px to 45 px. This means that i imcreased the space around the heading to show the full header image.
In contrast in the example below for the footer i decreased the padding from 20px to 10px to decrease the size of the footer. As tradidtionally the footer space is smaller than the space for the heading.

It is intresting to see how a small repeated image can be used to creat a header and a footer for a webpage and how too they can be sytled using CSS.
The sizes for the header and fotter space in the example above are
Header - 130 px by 800 px
Footer - 40 px by 800 px
I am now going to experiment using graphics of the above sizes for the header and the footer space rather than using a reapeted image.
For my footer space i created this very simple design just to demonstrait how a full sized graphic could be used for the footer.

And here is an example of the footer design above been used for the actual footer of my web page.

And above is the image I created for the header. Again it is just a very simple design just to demonstarit how a image could be used for the header of the web page.

The print screen above shows the above image been used a a header.

I also in the above example changed the colour of the text on the header and footer so it matches with the designs i have created.
I suppose there are examples to all of the different ways of creating header and footer designs.
Changing just the back ground colour allows you to create headers and footers quickly using just CSS. However only simple graphics can be created in this way.
Using a repeated image allows the image to be loaded quickly and just repeated across the space which could mean that the image will load quite quickly. Although this does result in a graphics again been quite simple designs which may or may not always be appropriate for the web page.
And with the last method i looked at adding a image the size of the header and footer space allows for more intricately designed and detailed headers but may result in the web page loading slower.
Although I think for my actual website that I design for this brief I will be using actual graphics that I create using Photoshop to allow the graphics to be more intricate and detailed.
No comments:
Post a Comment